Improve your macOS terminal experience using iTerm and Zsh
As I was always working with MacOs for my personal work, I was always checking for efficiency and to improve my way of working and I switched recently on iTerm2 as a terminal emulator and Zsh shell and ohmyzsh to power up my way of working.
I will explain you why I made this choice and how to configure them.
iTerm2, what is it exactly ?
![]()
Well, iTerm2 is like the king of terminal for MacOs. Instead of using your old terminal, you will use a Level Up terminal with a lot of new features and themes which will make your development and devops life easier.
Why using old one when you can have a new really better one ? Which will you choose a Fiat or a Ferrari if you can have both for the same price ?
Few features of iTerm2 :
- native integration with tmux !
- splitting terminal easily
- paste history
- auto-complete for commands
- New updates and feature regularly
- And so on.
You can have a look on this page to see all features :
Install iTerm2 terminal
You have two options to install iTerm2 :
-
Download it from iTerm2 Download and drag and drop to your application folder
-
Use brew from command-line
$ brew cask install iterm2
Once installed, it does not look really different and fancy but wait, it’s only the top of the iceberg.

The major of our configuration will be on OhMyZsh !
Thus, Let’s have a look on OhMyZsh !
What is Zsh and what is OhMyZsh ?

Zsh or Z shell is an alternative to the famous bash shell interpreter which is the default on Linux and old version of MacOS X systems.
Zsh is based on the same shell as Bash, so all your bash script and command will still work and Zsh is now ships by default on new MacOs.
OhMyZsh is a amazing open-source framework to manage your Zsh configuration and make your experience fantastic.
OhMyZsh has huge community and gain over the time a lot of popularity.
That’s why OhMyZsh has a lot of plugins to take advantages of and a lot of themes to make your experience smoother and better.
And…It’s why OhMyZsh is just totally amazing !
For refresh, a theme is a predefined prompt configuration, while a plugin is a set of useful aliases and functions that make it easier to use a specific command or programming language.
Have a look on this URL to see all the OhMyZsh Plugins
And on this URL for all the OhMyZsh Themes
Install Zsh and OhMyZsh on your mac
Zsh ships with OS X, however, it’s usually an older version. I recommend installing the latest version using Homebrew, the Mac package manager.
Install Zsh Shell
brew install zsh zsh-completions
zsh --version
zsh 5.8 (x86_64-apple-darwin19.6.0)
Once installed, you need to inform your OS that you want to use Zsh instead of Bash.
$ chsh -s /bin/zsh
Great, now it’s time to install OhMyZsh.
Install OhMyZsh Framework
OhMyZsh will be the amazing layer between us and Zsh shell.
It will gives the Zsh shell superpowers !
Easy for installing, You can install using curl or wget :
sh -c "$(curl -fsSL https://raw.github.com/ohmyzsh/ohmyzsh/master/tools/install.sh)"
sh -c "$(wget https://raw.github.com/ohmyzsh/ohmyzsh/master/tools/install.sh -O -)"

Using the Oh My Zsh template file and adding it to ~/.zshrc.

         __                                     __
  ____  / /_     ____ ___  __  __   ____  _____/ /_
 / __ \/ __ \   / __ `__ \/ / / /  /_  / / ___/ __ \
/ /_/ / / / /  / / / / / / /_/ /    / /_(__  ) / / /
\____/_/ /_/  /_/ /_/ /_/\__, /    /___/____/_/ /_/
                        /____/                       ....is now installed!


Before you scream Oh My Zsh! please look over the ~/.zshrc file to select plugins, themes, and options.

• Follow us on Twitter: https://twitter.com/ohmyzsh
• Join our Discord server: https://discord.gg/ohmyzsh
• Get stickers, shirts, coffee mugs and other swag: https://shop.planetargon.com/collections/oh-my-zsh

➜  ~
Excellent!
Now that we have everything installed, it’s time to configure it !
Pimp my OhMyZsh and Zsh

You can find the default configuration file is in your home folder: ~/.zshrc
If you open it, you can see that most of it is commented and is waiting for you to enable and customize.
vim ~/.zshrc
Install these fantastic plugins for OhMyZsh
Here is the plugins that I will recommend :
Provides auto completion for shell commands. Trigger it with TAB⇥
To install it:
git clone https://github.com/zsh-users/zsh-autosuggestions ${ZSH_CUSTOM:-~/.oh-my-zsh/custom}/plugins/zsh-autosuggestions
[zsh-syntax-highlighting][https://github.com/zsh-users/zsh-syntax-highlighting]
Provides syntax highlighting on the shell
cd
git clone https://github.com/zsh-users/zsh-syntax-highlighting.git ${ZSH_CUSTOM:-~/.oh-my-zsh/custom}/plugins/zsh-syntax-highlighting

Nice app which corrects your previous console command using the word ‘fuck’. Who said IT was not fun ?
Installation :
brew install thefuck
Then, when you are making wrong command, you can just type fuck and the plugins will recommend you good syntax :
mac  ~  vem .zshrc
zsh: command not found: vem
mac  ~  fuck
vim .zshrc [enter/↑/↓/ctrl+c]
mac  ~  vim .zshrc
A cd command that learns - easily navigate directories from the command line. It will provides you a smarter directory navigation system.
AutoJump will keep a database of your previous directory and you will be able to change directory faster using the letter j + anypreviousword
Installation AutoJump on MacOs
brew install autojump
Lsd will be used to make your ls and tree output more beautiful and fancy.
Installation LSD on MacOs
brew install lsd
Once all the plugins are installed, you need to loaded them configuring your zsh configuration files. Add all the plugins installed in the plugins section.
vim ~/.zshrc
plugins=(git zsh-syntax-highlighting zsh-autosuggestions autojump thefuck)

# and add these line at the end of the file
[ -f /usr/local/etc/profile.d/autojump.sh ] && . /usr/local/etc/profile.d/autojump.sh
eval $(thefuck --alias)
alias ls='lsd --group-dirs first'
alias tree='lsd --tree'
Once you made the change, reload the file or just open/close your iTerm2.
source ~/.zshrc
Theme for your Zsh
I’ve tried a lot of themes and the best for me is Powerlevel10K
Installation and setup of Powerlevel10K
git clone --depth=1 https://github.com/romkatv/powerlevel10k.git ${ZSH_CUSTOM:-$HOME/.oh-my-zsh/custom}/themes/powerlevel10k
Then, change the theme in your zshrc config file
vim ~/.zshrc

Set ZSH_THEME="powerlevel10k/powerlevel10k"
And reload your change
source !$
Then, you will need to follow the configuration wizard to install a new font and restart iTerm.
And finally, that’s it ! You’ve just level up !

Your new work and dev environment is ready to make you more efficient and give you a better coding experience.
Here is my new beautiful terminal :
Tips for using your new terminal environment
Let’s have an overview together how to use your new super terminal environment.
Tips for iTerm2
Here is few shortcut to use with iTerm
| shortcut | description |
|---|---|
| ⌘ + T | New Tab |
| ⌘ + ← | Previous Tab |
| ⌘ + → | Next Tab |
| ⌘ + W | Close Tab or Window |
| ⌘ + 1 - 9 | Go to Tab X number |
| ⌘ + ⌥ + ← ↑ → ↓ | Go to Split Pane by Direction |
| ⌘ + D | Split Window Vertically |
| ⌘ + Shift + D | Split Window Horizontally |
| ⌘ + ⤶ Enter | Full screen |
| ⌘ + Shift + ⤶ Enter | Maximize a pane |
| ⌘ + Ctrl + ← ↑ → ↓ | Resize Pane |
| ⌘ + ] | Go to Next Pane |
| ⌘ + [ | Go to Previous Pane |
| ⌘ + Alt + I | Broadcast command to all panes in window |
| control + tab | Switch between two tabs |
Use tmux in iTerm2 interface and shortcuts, useful for SSH 😍
tmux -CC
Install Color Scheme for iterm2
I will recommend you to change the default color scheme of iTerm and use which one you prefer iTerm2
Once the color scheme download, follow this procedure to install it :
- Launch iTerm 2. Get the latest version at iterm2.com
- Type CMD+i
- Navigate to Colors tab
- Click on Load Presets
- Click on Import
- Select the .itermcolors file(s) of the scheme(s) you’d like to use
- Click on Load Presets and choose a color scheme
Personally, I like to use gruvbox Dark and dracula .
Working with Alias
To list all the available alias, use command alias in the terminal.

If you want to add you own alias, edit your .zshrc file and add your new alias:
alias [alias-name]='[command]'
You can even add function to make multi command as below
function lol() {
git add .
git commit -m "$1"
git push
}
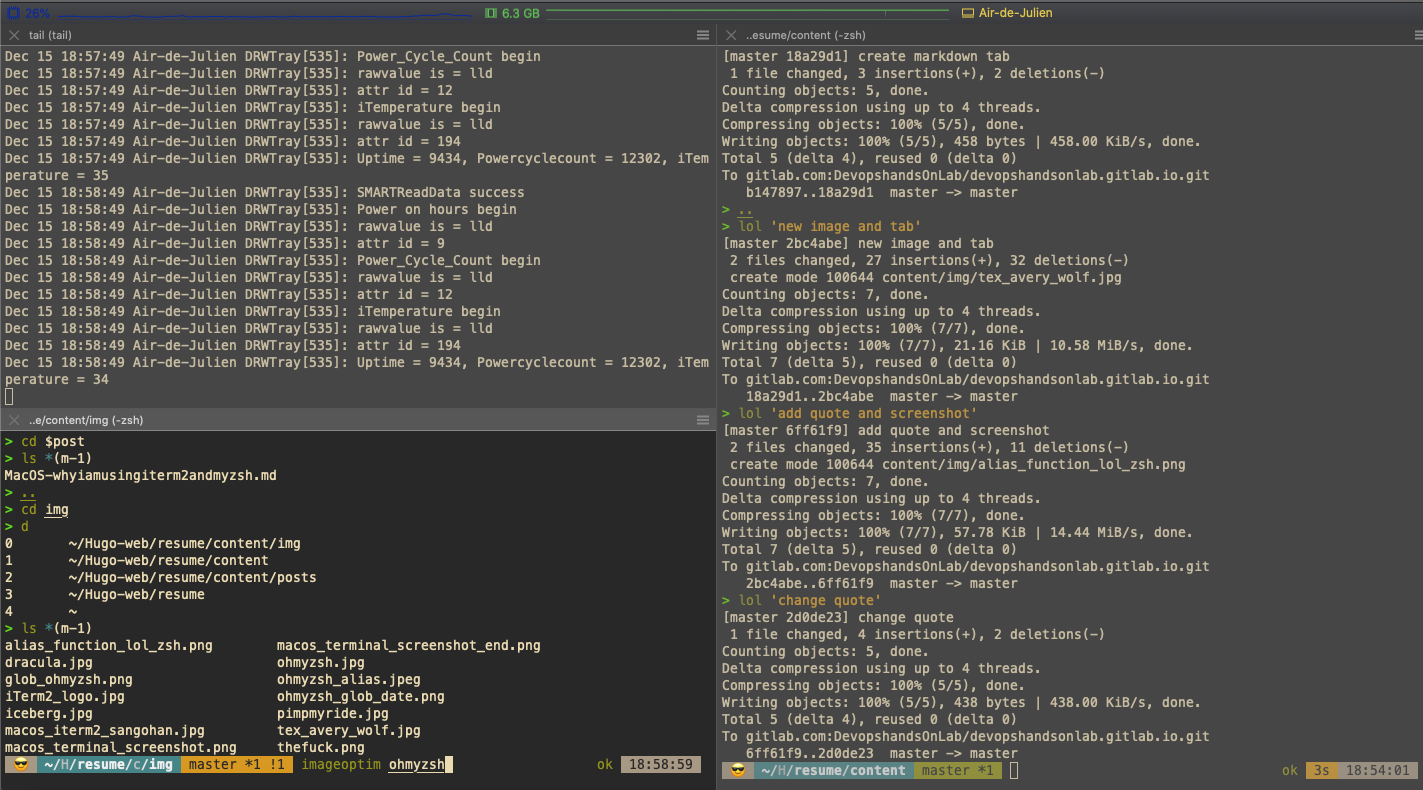
So, each time I want to push my code and deploy my website, I will just need to launch this command, LOL ! 😂
lol 'new commit message'
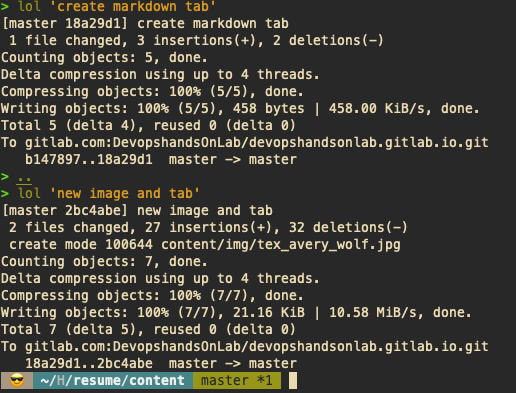
Great ! It will save me few minutes each new post ! As I’m using GitLab CI/CD, I will only need to commit and push my code using this alias and my website will be deployed automatically !
Here is some amazing alias included with zsh :
| alias | command |
|---|---|
| - | ‘cd -’ |
| … | ../.. |
| …. | ../../.. |
| ….. | ../../../.. |
| d | ‘to list the last used directories from a terminal session.’ |
| 1 | ‘cd -’ |
| 2 | ‘cd -2’ |
| 3 | ‘cd -3’ |
| 4 | ‘cd -4’ |
| l | ‘ls -lah’ |
| md | ‘mkdir -p’ |
| rd | rmdir |
| take | ‘mkdir $1; cd $’ |
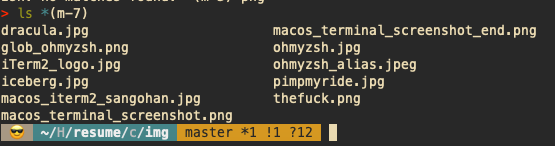
With globbing , you can list files with a particular extension.
For example, ls *.html will list all HTML files in the current directory.
To include subdirectories, change to: ls **/*.html.

You can search for files by date modified. For example, ls *(m-7) will list all files modified within the last week.
You can search for files by size. For example, ls *(Lm+1) will find all files with a size larger than 1MB.
Glob is amazing, isn’t it ?
File Navigation with Oh My Zsh and autojump plugins
Another awesome thing about Oh My Zsh, is how easy it makes it to navigate around directory.
For example, when you want to change directory, it is not necessary to enter the cd command ! 😍
You can enter directly the directory name, you can enter … instead of cd ../../..
Oh My Zsh has great autocomplete, too. Once you have started typing a path, you can press TAB to have it expand a list of all possible folders you can navigate to.
If you continue entering tab, you can move through this list until you select a folder by pressing Return. Pressing TAB again after that will restart the process.
AutoJump will keep a database of the most frequent directory you are going into, and you can use these different command:
Jump To A Directory That Contains posts:
> j posts
/Users/JulienSimon/Hugo-web/resume/content/posts
Jump To A Child Directory:
$ jc img
Open Finder To Directories (instead of jumping):
$ jo music
Opening a finder to a child directory is also supported:
$ jco images
Conclusion using iTerm2 and Zsh
I will hardly recommend that you are using these amazing tools to improve your experience if you are like me using all the time terminal and CLI, it will level up your experience and will make you more efficient and fast ! Jump in your Mustang terminal !

Is it not better to work on this kind of terminal ? 😇